How to make a wedding seating chart, step by step
The seating chart has a reputation as the most stressful part of wedding planning. It doesn't have to be. With a final guest list, a clear table layout and a few simple rules, you can make a wedding seating chart in an evening or two and spend the rest of the time adjusting.
Here is how to make a wedding seating chart step by step, from when to start to what to hand your venue and caterer.
1. Start once RSVPs are in
You can sketch ideas early, but real seating starts when you have a final head count. For most couples that means right after the RSVP deadline, roughly a month before the wedding.
Before you place a single name, make sure your guest list shows, for each person:
- whether they are coming;
- their meal choice and any allergies or dietary needs;
- whether they bring a plus-one or children;
- any need for easy access, like a wheelchair, walker or high chair.
Chase late RSVPs a few days after the deadline. A chart built on guesses usually has to be redone.
2. Get the floor plan and table sizes
Ask your venue for a floor plan and the tables they actually have. The shape decides how many people fit and how conversation flows.
- Round tables: the classic choice. A 60-inch round commonly seats 8 to 10 and a 72-inch round 10 to 12; confirm with your venue.
- Long rectangular tables: fit more people in a narrow room and feel like a family dinner. Guests mainly talk to their neighbors and the person across.
- Mixed layouts: rounds for most guests and one or two long tables for the wedding party or a big family group.
Mark the fixed points on the plan: the dance floor, the band or DJ, the bar, the buffet, the doors, restrooms and the cake table. These shape where everyone sits.
3. Decide on a head table or sweetheart table
Place yourselves first. A head table seats you with the wedding party, often in a long row facing the room. A sweetheart table is just the two of you, which frees the wedding party to sit with their own partners and friends.
There is no right answer. A sweetheart table often makes the rest of the chart easier, because nobody's date ends up sitting alone. A head table keeps your closest people near you all night.
4. Seat close family near you
Parents, grandparents and others you want close usually get the tables nearest yours. Many couples give each side of the family its own table, with the officiant and their partner often invited to join one of them.
Divorced or separated parents need a little care. If they get along, one shared table can work. If not, give each parent their own table, with their partner and the relatives they are closest to, at an equal distance from you. Ask them privately what they would prefer; a two-minute conversation now avoids an awkward evening.
5. Group everyone else by how they know each other
Sort the rest of your list into groups: college friends, coworkers, neighbors, cousins, a parent's friends. Fill tables group by group. Guests are happiest next to at least one or two people they already know.
- Seat couples together, and plus-ones next to the guest who brought them.
- Mix small groups that are likely to get along, such as two sets of friends with similar ages or interests.
- Seat guests who don't get along at different tables, not just different seats (more on this below).
- Avoid a "leftovers" table. If a few people don't fit any group, place them with the friendliest table you have.
Treat each household as one unit
Before you touch a table, turn your guest list into households and groups: the Bennett family of four, a couple and their baby, five college friends. Then you place units, not single names, and nobody ends up split from their partner or their kids. It also tells you early which groups are too big for one table, so you can split them on purpose (say, the kids' cousins at the next table) instead of by accident.
Write a short keep-apart list
Most families have one or two pairs who shouldn't share a table: an ex, a recent falling-out, two relatives who always end up arguing. Write those pairs down before you start, and check every table against the list once the chart is done. Keep the list private, and keep it short; if it grows past a handful of names, talk it through with the family members involved rather than solving it with seating alone.
6. Plan for kids and plus-ones
Young children usually sit with their parents, with a high chair if needed. Older kids often enjoy a kids' table near their parents, ideally with an activity or two. Count children in your seats either way, and check how your caterer handles kids' meals.
Plus-ones should never be split from the guest they came with. If someone's date is a stranger to everyone, seat them at a table with an outgoing group.
7. Think about accessibility and comfort
Good seating is partly about relationships and partly about the room.
- Seat elderly guests and anyone with limited mobility near exits and restrooms, with a clear path to their table.
- Leave a space without a chair for a guest who uses a wheelchair.
- Keep older guests, babies and anyone sensitive to noise away from the speakers and the dance floor.
- Put the guests who will dance the most closest to the dance floor.
- Check that nobody important faces a pillar or has their back to the toasts.
8. Choose escort cards or a seating chart display
Guests need a way to find their table. There are two common options.
- Escort cards: one card per guest or couple with their name and table number, set out near the entrance. Easy to change at the last minute: you just move or rewrite a card.
- Seating chart display: one large sign listing names by table, or alphabetically with table numbers. Make it big enough to read from a few feet away, and consider listing names alphabetically so people find themselves quickly.
Assigning tables, not exact seats, is the most common approach. If you assign seats too, add place cards at each setting, and mark meal choices on them if the caterer asks.
9. Leave room for last-minute changes
Someone will cancel, and someone will ask to bring a guest. Plan for it:
- keep one or two seats open across the room instead of filling every table to the limit;
- set a date after which you stop changing the chart, and tell your venue the same date;
- keep the chart in one place that is easy to edit, so every change updates your counts.
Print escort cards or the display as late as you comfortably can.
10. Share the final chart with your venue and caterer
Your venue and caterer need more than a list of names. Send them:
- the floor plan with numbered tables;
- the number of guests at each table;
- meal counts per table (for example, Table 4: 6 chicken, 3 vegetarian, 1 kids' meal);
- allergies and dietary needs, with the guest's table;
- high chairs, wheelchair spaces and any vendor meals.
Give a copy to your planner or day-of coordinator and one trusted friend, so someone besides you can answer "where do I sit?" on the day.
Tools that make it easier
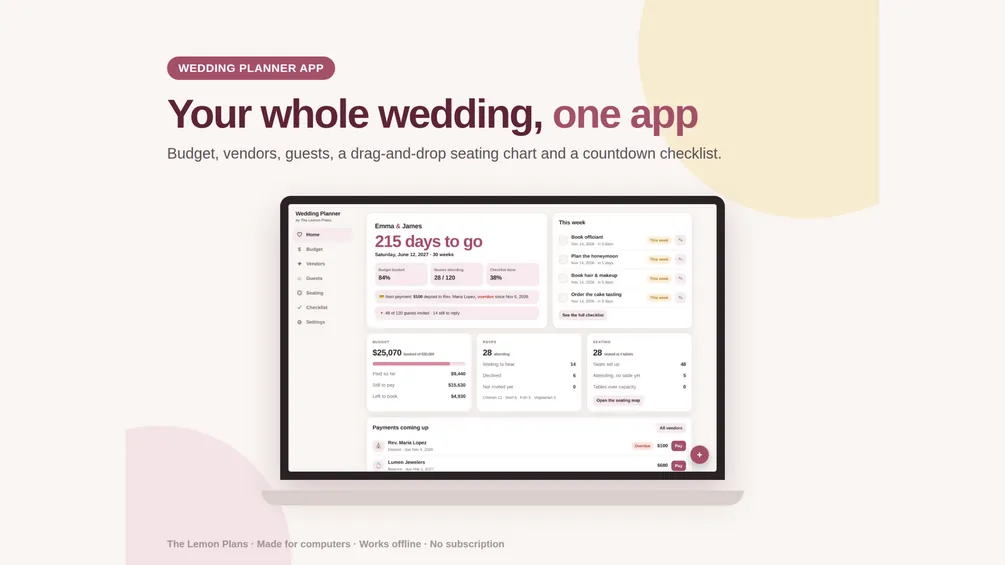
Paper and sticky notes work, but a digital seating chart is easier to change. Our Wedding Planner App draws your room as a floor plan: place round, rectangle, banquet and head tables, turn them, add the dance floor and bar, then drag guests from your RSVP list onto seats. You can add a whole family or group at once and drag it onto a table so everyone sits side by side, and mark guests as keep apart so the plan warns you if they land at the same table. It also flags full or over-capacity tables and guests without a seat, counts dietary needs per table for the caterer, and prints the plan or saves it as a PDF. It works offline and keeps your data on your device.
Use auto-seating for a first draft, then adjust
If you have a long list, an automatic first pass saves an evening. The app's Auto-seat fills the open seats in one click, keeping each family or group together and putting keep-apart guests at different tables; Undo puts everything back if you don't like it. Treat the result as a draft: you still know who should sit near the dance floor, who needs a quiet corner and which friends will be happiest together, so move people by hand after. You can try the floor plan and Auto-seat in the demo before buying.
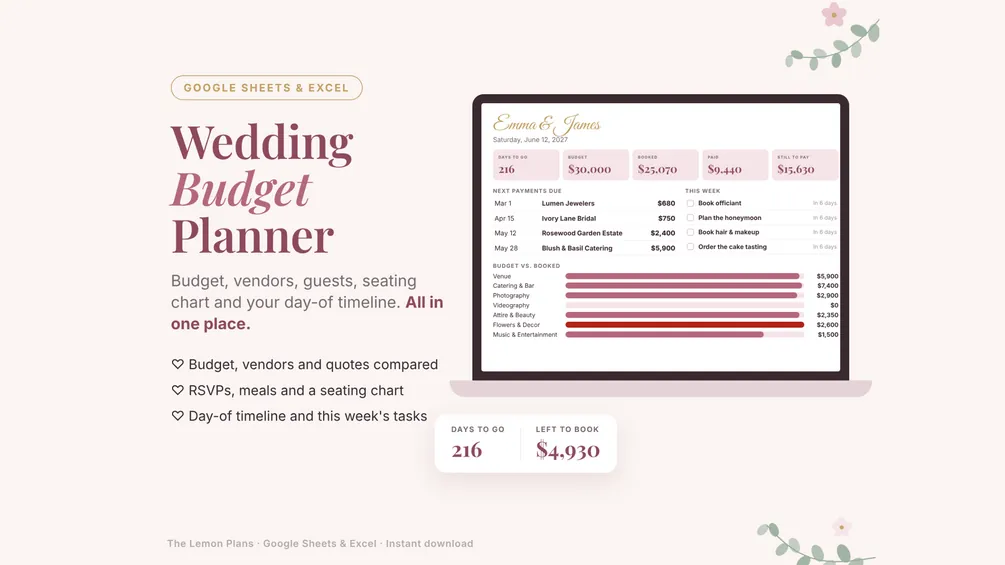
If you prefer spreadsheets, the Wedding Budget Planner for Google Sheets and Excel lets you type a table number next to each guest and fills in a table map for you. Both are a one-time purchase.
Seating is also a good moment to check your numbers, since your final head count drives catering and rentals. Our wedding budget breakdown shows how to split your budget by category, and the wedding planning page has the rest of our wedding tools.
The short version
Wait for your final head count, get the floor plan, and place yourselves and close family first. Group everyone else by household and by how they know each other, check your keep-apart list, keep plus-ones and kids with their people, and seat older guests near exits and away from speakers. Choose escort cards or a display, leave a seat or two open, and send your venue and caterer guest and meal counts per table.
This guide is general information, not financial advice. Check the numbers for your own situation.